No border.

booking icon1

Book Here

Webcam icon

Web Cam

clipart wind turbine blade 2

WPWC Wind

  xcweather

XC Weather

clipart wind turbine blade 2

Windy.com

 metoffice logo 320x208

Met Office

Words & photos - John Lymer

What a gem this location is! Pant Yr Onnen Caravan and Camping Site is right on the shore of the lake, at Llangower, about 3.5 miles from the town of Bala. A pleasant distance to cycle. Pay £8 for a hook-up and your pitch is about 30 metres from the lake. Forego electric and you'll be right on the shoreline. Or you can book a Shepherd's hut. The views are fabulous and the light quite special when the sun penetrated gaps in the cloud. Looking down the lake, I could see up to 7 layers of distant hill.

Six members plus family made the late September weekend trip. Maybe more won't commit without the guarantee of wind. You do realise that will never come though? I admit, the forecast for our trip didn't bode that well. The direction was North Easterly, so blowing down the lake - so far, so good. Xcweather and the Met Office had both forecast 10mph gusting to 20ish. As it happened, that seemed quite accurate, though a few whitecaps maybe indicates a bit more than 10mph. Perfect 6.5m windfoiling (7.5m+ windsurfing) on Friday afternoon. It seemed easier than usual, or I've got better. The wind was very clean with none of the huge gusts that we're so used to and that does make a difference. Saturday saw a bit more wind around lunchtime, enough for windsurfing with 6.5m sails. Sometimes bigger would have been better, or swapping fin for foil, but we got out and we got planing, so that's a success! The conditions were also well suited to paddleboarding, kayaking and other boating activities that are popular here. Our members covered windsurfing, windfoiling, wingsurfing and paddleboarding. What a diverse bunch we are!

We're hoping to receive some drone footage from a fellow camper. To be going on with, here are some stills showing the action ...

Click on a picture to see larger images then use the arrows or swipe to scroll through them


We need help from members! Please watch the shoutbox and/or Club Facebook group for dates and try and come when you can

Trees block Northerly/North Westerly/Westerly winds, so those of us doing wind powered sports are keen to manage them. The local bird watching group want more sight lines to the reservoir too, so happily we both want the same thing! We're working hard to combat where trees are encroaching onto the headland in the Nature Reserve area to the West of the clubhouse and have agreed with UU and the bird watchers what we can and can't do and when. The reservoir level is low now - in fact, much lower than we'd like it to be! The only good thing about that is it gives us a few weeks to pull up saplings and cut branches off larger trees in this area. We then cut these up and stack them above high water level (so they don't float away), ideally in a 'dead hedge'. The rotting wood is good for insects and birds then feed off these. And the whole lot shrinks in size massively over time.

Fred is leading the work. He's been going several times each week, sometimes with a few volunteers, and has achieved a lot! But it's a big job, so he/we would like help please.

We're using:

  • tree popper tools borrowed from the bird watching group - these grip small trees/roots and lever them out of the ground
  • mattocks (like a pick axe, but with a  wider, flatter blade) to clear around the base of the tree and sometimes to lever roots
  • rechargeable reciprocating saw and loppers to cut branches
  • brush cutter to cut saplings to about 30cm above ground, so the tree poppers can get to some tree stems

Then we have to gather everything and carry or drag it on a tarpaulin before stacking it near to the fence.

So, there's something everyone can have a go at, whether you like using power tools, hand tools, or prefer just to tidy all the debris away!


Here's Fred in his natural environment ...!

 IMG 8747

Here's some of the area after trees have been cut to 30cm above ground

IMG 8743

And here's a pile of stumps pulled up in 3 hours by 1 person

IMG 8746

Words & photos - John Lymer

Snapshot lowres

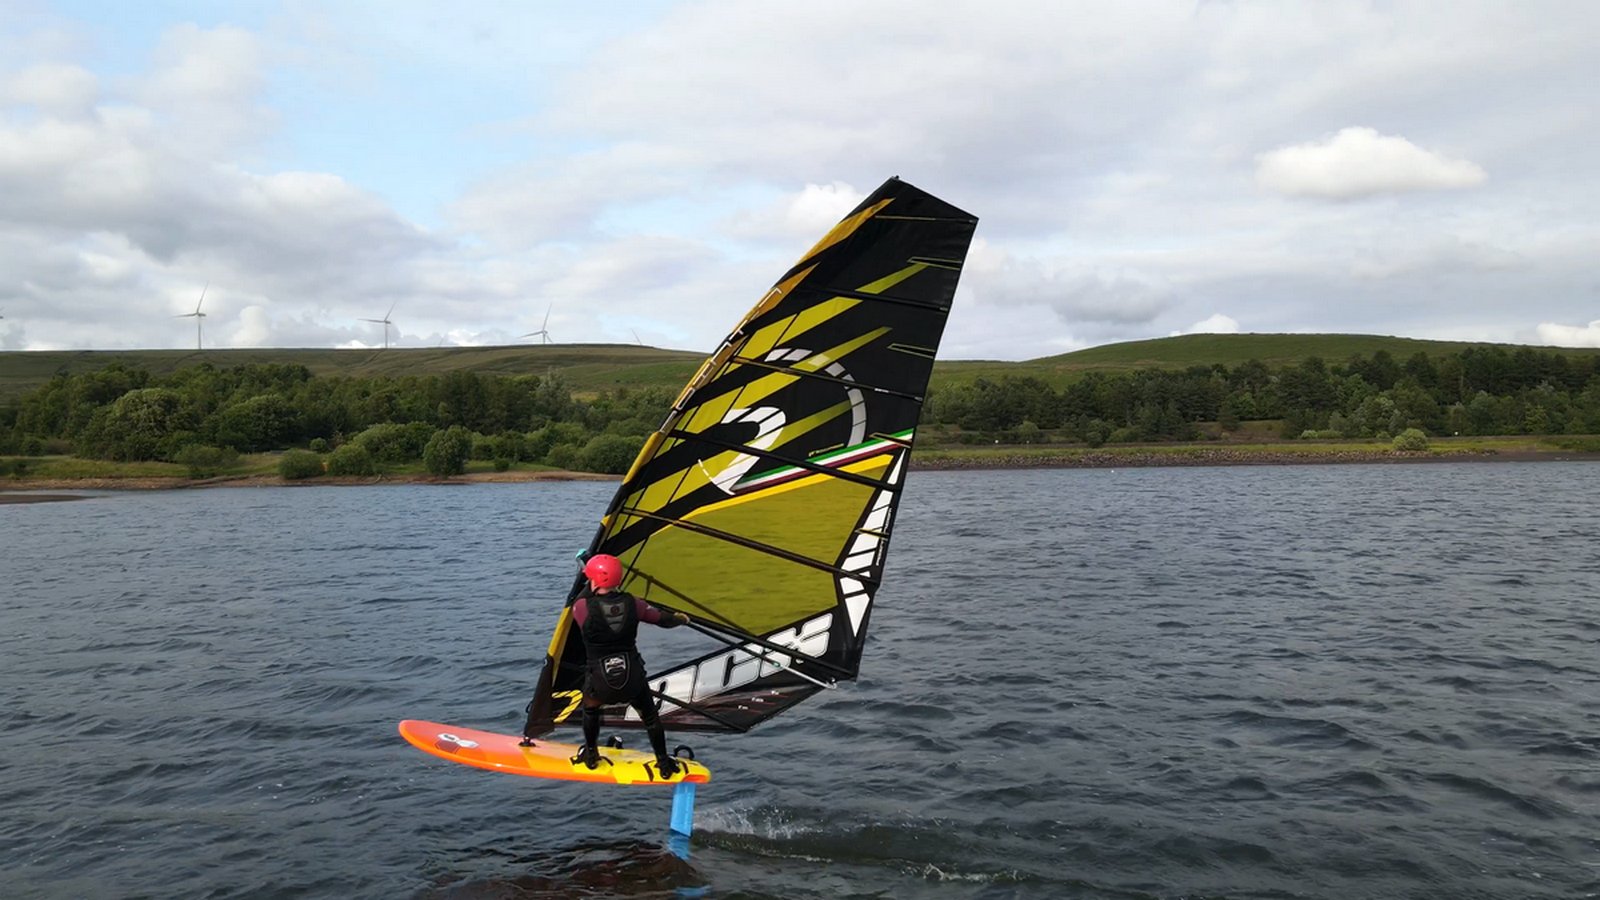
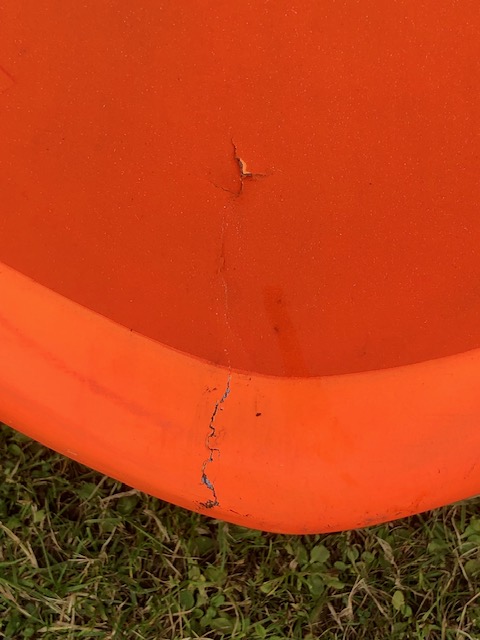
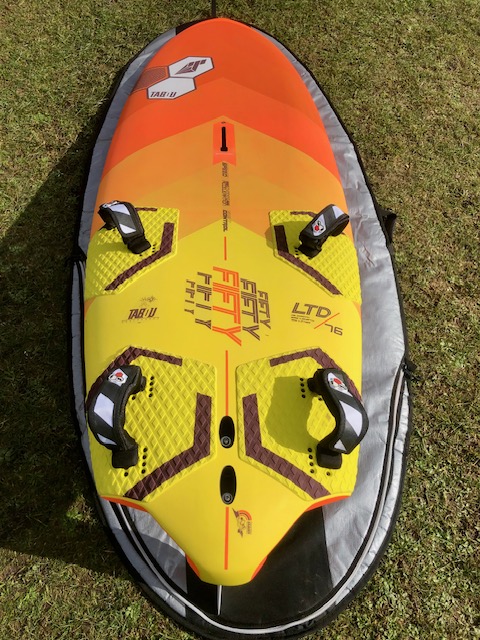
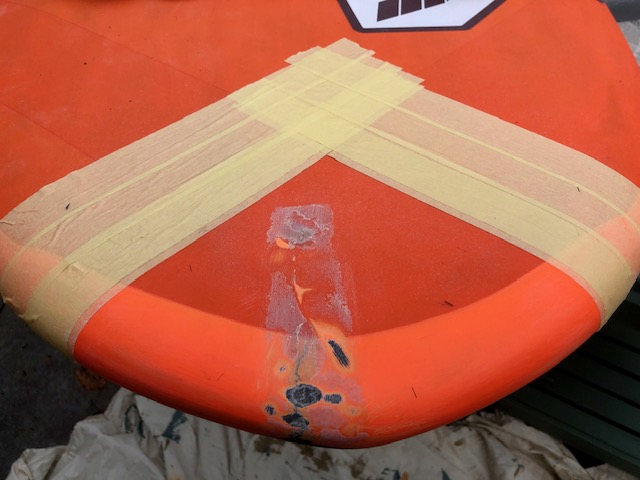
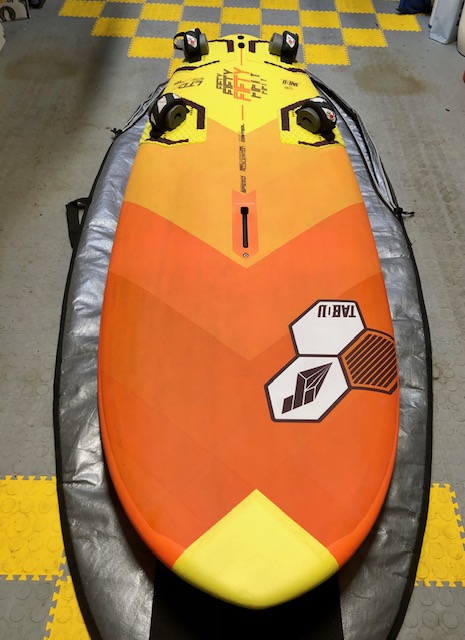
I recently bought a smart new dual purpose windsurf and windfoil board ... then managed to damage it on its first outing! I used 2 part epoxy to fix that damage on the rail, then sanded it before painting some new graphics on the affected area because I can't get the right matt fluorescent orange paint. Not a great situation for a brand new board, but hey ho! A few months on and the mast fell on the nose. This time it punctured the skin and caused a crack along the board and in the gel coat. It seems boards aren't as robust as we'd like them to be! This article shows how I repaired the damaged nose.

IMG 8515

I found this video useful and it gave me the confidence to have a go at a proper repair, rather than a possible simple bodge job. I also sought advice from committee member, Tim Ordway. Tim has had a lot of experience with fibre-glass/carbon-fibre and similar repairs, mostly to vehicles. If you don't know Tim, he's the one who usually arrives in distinctive/unconventional vehicles! Tim advised me precisely what products to buy, where from and how to go about some elements of the task.

I bought the following, online, from East Coast Fibreglass Supplies:

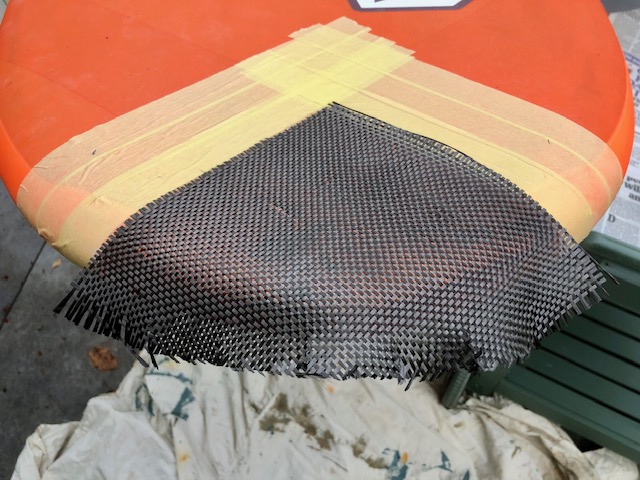
  • 160g plain weave carbon-fibre cloth
  • 6oz glass-fibre cloth (surfboard cloth)
  • peel ply fabric
  • West system epoxy resin
  • acetone (for cleaning brushes)

With brushes, gloves, sandpaper and sanding pads the final bill was £113. I wonder how much a professional repair costs? The resin alone cost £40 and I ordered too much carbon-fibre and peel ply, so I have enough materials for quite a few repairs. I hope I never need them! The board was only out of action for a few days - much less than if I'd sent it away to have the work done. The work probably took more than 10 hours. Fine if, like me, you're retired. Maybe too much if you're working.

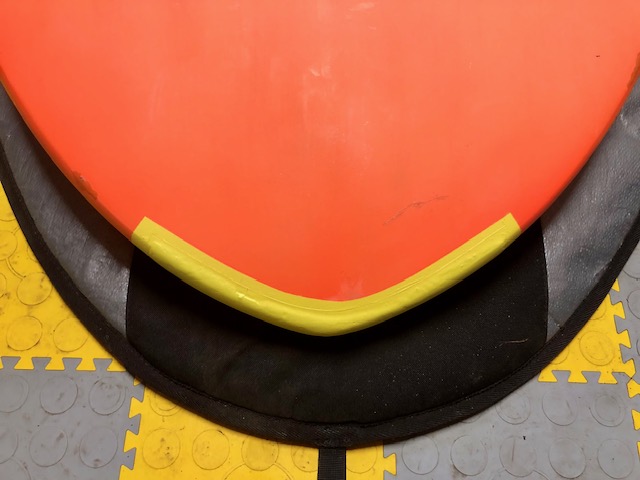
I opted for a wrap-over repair as I didn't want to do anything as drastic as cut away some of the board deck to achieve a flush finish and should end up with a board that is stronger than when new. I chose to mirror the vee shaped graphics at the rear of the board. I can't get matching orange paint so wanted to make a feature out of the repair, rather than blending it in. It would be painted yellow.

IMG 7631

I marked the area off with masking tape.

IMG 8567

A paper template was created before cutting out the carbon fibre cloth. This overlapped onto the masking tape as recommended in the video.

IMG 8568

Next, it's time to mix the 2 part resin in the smallest quantity you can - I mixed far too much initially. This is painted on. Then cover the repair with the peel ply fabric and tape it in place as tightly as possible.

IMG 8570

IMG 8569

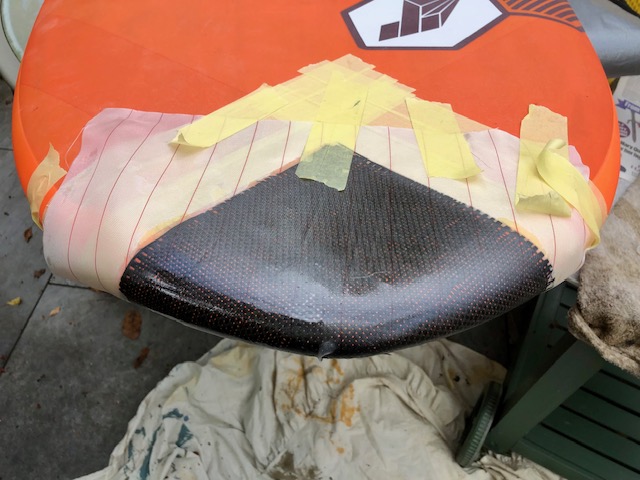
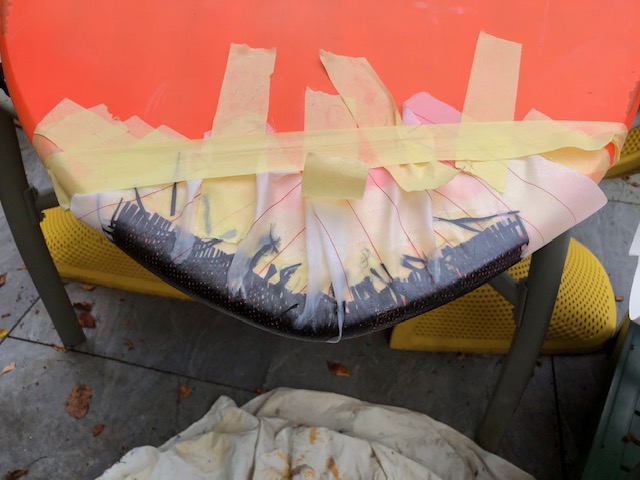
After about 2 hours at 20C it's time to peel off the peel ply. This fabric soaks up any surplus resin to leave a smooth, dry surface to the repair. I then trimmed the carbon fibre to the edge of the tape, removed some tape and re-applied it a few millimetres further away so I could apply the glassfibre over the carbon, extending a bit further out to hopefully achieve a smooth chamfer at the edge.

IMG 8571

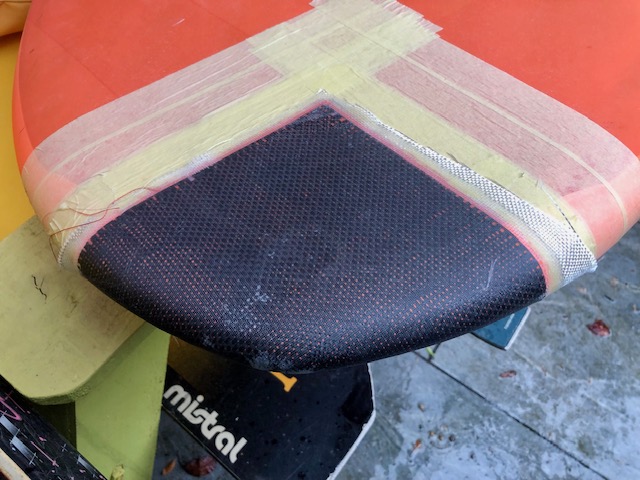
Here's the result after the glassfibre surfboard cloth has been applied, resin added as with the carbon fibre and peel ply used and then removed.

IMG 8573

Then it was time to trim the edges, sand them smoother and apply a bit more resin to soak all the cloth at the edges. After that the whole repair was sanded lightly and the edges chamfered as neatly as possible. Repeated trimming of the edges with a stanley knife and reapplying tape was quite time-consuming.

IMG 8602

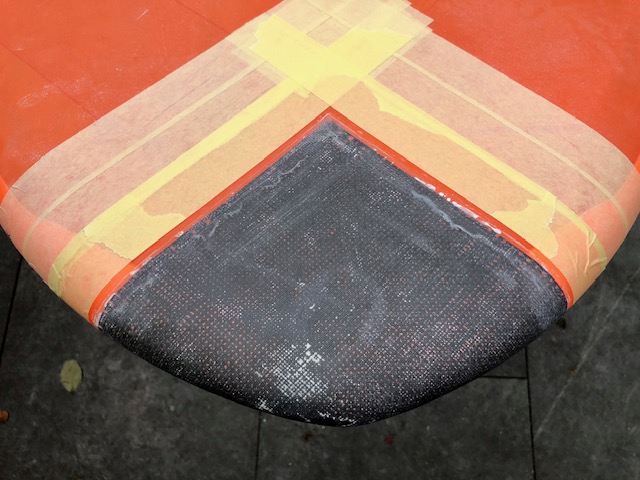
Now it's a final thin painting on of resin all over. No peel ply was used this time - Tim's advice was that this would achieve something of a gloss finish.

IMG 8604

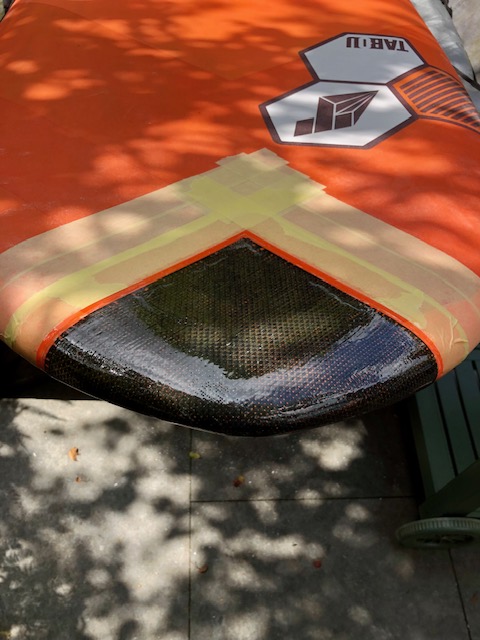
You could go for a raw carbon-fibre finish and call it job done at this stage. I wanted to paint it though.

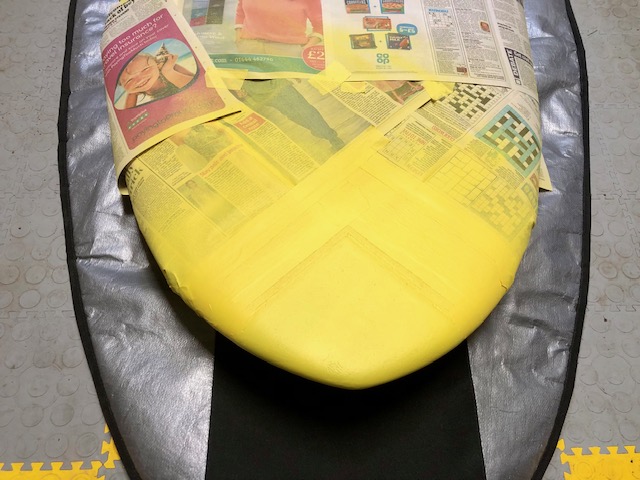
After the resin was set I masked around the repair and applied the bling-tastic yellow paint! I can never have too much yellow. The paint was bought from Car Body Supplies, Whitworth Road, Rochdale. They'll match any colour if you take your board to them. The mast rubbed the nose gently during my next outing and that was enough to take off some of the paint. If there's a 'next time' I'll leave it raw! As I'd painted it yellow this time, I re-did the yellow paint and when that was dry I painted over it with fibreglass resin to protect it. I'll see how that lasts!

IMG 8608

Now remove the masking to view the finished repair in all its glory!

IMG 8611 

IMG 8610

IMG 8612

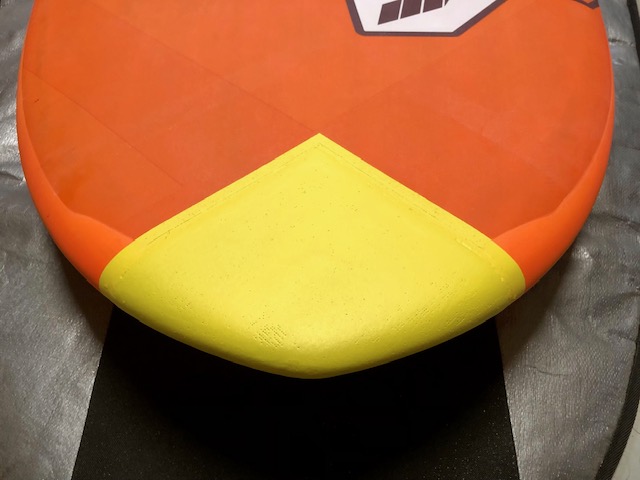
Now it's play time again!

Snapshot 1

Snapshot 2

Snapshot 3

Subcategories

Address

Address

West Pennine Windsurfing Club
Watergrove Reservoir
Wardle
Rochdale
OL12 9NT

WPSC is a not-for-profit Community Amateur Sports Club trading as WPWC